Red Velvet Cupcakes – How to Make Them as Rich as Chocolate Cake
Introduction: A Question That Will Change Your Baking Life
Have you ever wondered why some Red Velvet Cupcakes taste like a rich, decadent piece of chocolate cake while others fall flat? It’s not just about following a recipe—it’s about mastering the art of baking with love and understanding the science behind it. Today, we’re diving into how you can transform your ordinary cupcakes into extraordinary ones that rival the best chocolate cakes out there 1. Ready to bake something magical?
Table of Contents
Overview: What Makes This Recipe Special?
If you’re looking for a cupcake recipe that wows at every bite, look no further than these Red Velvet Cupcakes. They’re special because they combine the classic red velvet flavor with the rich, moist texture of chocolate cake. Plus, they’re surprisingly easy to make! With just a little time—about 45 minutes—and minimal effort, even beginners can whip up a batch of these beauties. The difficulty level is beginner-friendly, so don’t worry if you’re new to baking.

Essential Ingredients: Building Blocks of Flavor
To create truly irresistible Red Velvet Cupcakes, you need to start with quality ingredients. Here’s what you’ll need:

- Flour : Acts as the backbone of your cupcakes. All-purpose flour works perfectly here.
- Cocoa Powder : Unsweetened cocoa powder adds depth and richness without overpowering the red velvet flavor 2.
- Baking Soda : Helps the cupcakes rise beautifully.
- Butter : Softened butter ensures a tender crumb.
- Sugar : Adds sweetness and helps with browning.
- Eggs : Bind everything together and add moisture.
- Red Food Coloring : Gives those iconic crimson hues.
- Vanilla Extract : Enhances overall flavor.
- Buttermilk : Keeps the cupcakes super moist and tender.
Substitutions & Variations:
Don’t have buttermilk? No problem! Mix regular milk with lemon juice or vinegar and let it sit for 5–10 minutes before using. For vegans, swap eggs with flaxseed gel and use plant-based butter 6.
Step-by-Step Instructions: Crafting Perfection
Now comes the fun part—making the cupcakes! Follow these simple steps:

- Preheat Your Oven : Set your oven to 350°F (175°C). Line two cupcake pans with liners.
- Mix Dry Ingredients : In a bowl, whisk together flour, cocoa powder, baking soda, and salt.
- Cream Butter and Sugar : Beat softened butter and sugar until light and fluffy.
- Add Wet Ingredients : Gradually mix in eggs, vanilla extract, and red food coloring.
- Combine Everything : Alternately add the dry mixture and buttermilk to the wet ingredients. Stir gently to avoid overmixing.
- Pour Batter : Fill each liner about 2/3 full.
- Bake : Pop them in the oven for 18–20 minutes or until a toothpick comes out clean.
- Cool Completely : Let the cupcakes cool completely before frosting.
Tip: Overmixing can lead to dense cupcakes, so fold gently when combining wet and dry ingredients 7.
Assembly: Putting It All Together
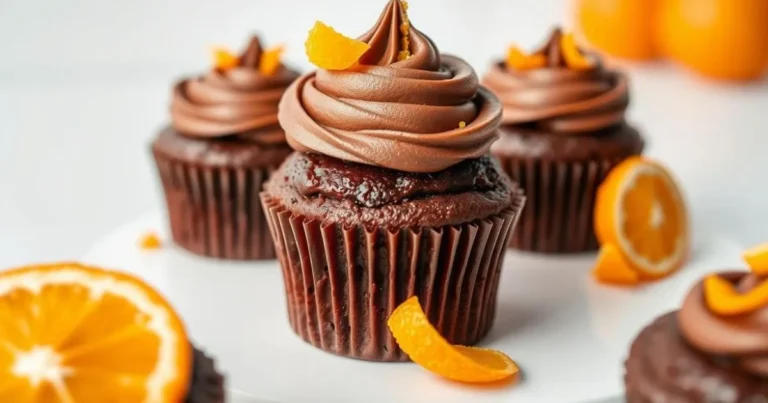
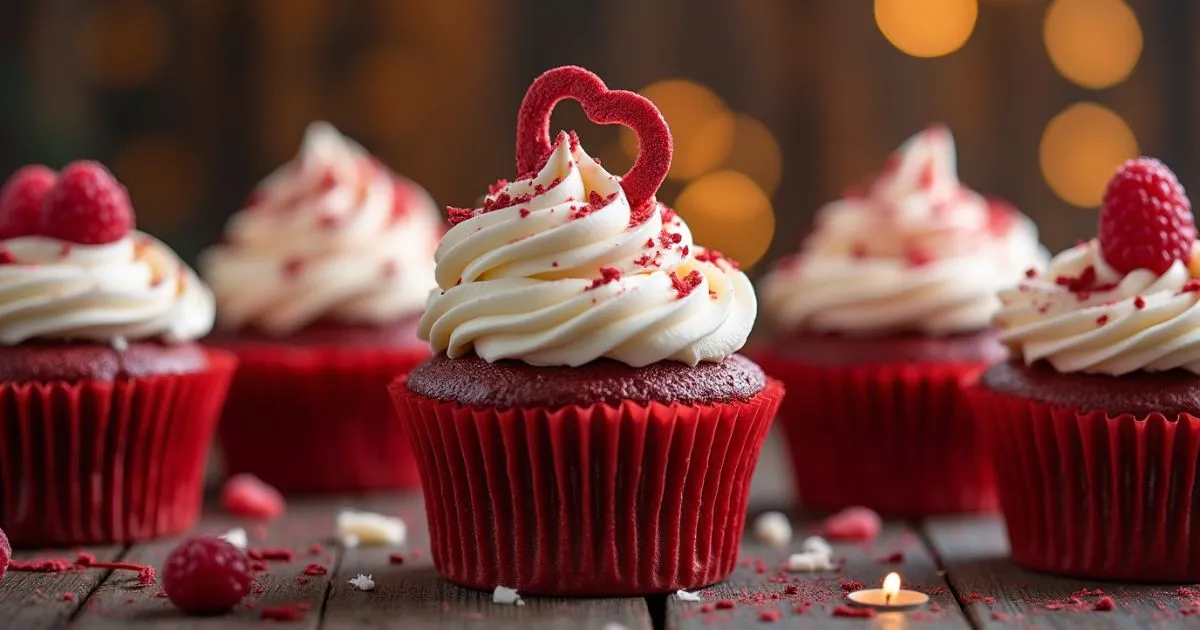
Once your cupcakes are cooled, it’s time to frost them. Cream cheese frosting pairs exceptionally well with red velvet because its tang balances the sweetness. To assemble:
- Spread an even layer of frosting on top of each cupcake.
- Decorate with sprinkles, edible glitter, or fresh berries for added flair.
- Experiment with piping tips for different designs—swirls, rosettes, or stars work wonders!
For presentations, consider arranging them on a tiered stand or placing them in cute boxes tied with ribbon. Presentation matters almost as much as taste!
Storage and Make-Ahead Tips: Keeping Them Fresh
One of the best things about Red Velvet Cupcakes is their longevity. Store unfrosted cupcakes in an airtight container at room temperature for up to three days. Frosted cupcakes should go in the fridge but bring them back to room temp before serving for optimal flavor.
If you want to make ahead, freeze the unfrosted cupcakes for up to three months. Thaw overnight in the refrigerator before frosting.
Recipe Variations: Shake Things Up!
Feeling adventurous? Try these variations:
- Add chopped pecans or walnuts for crunch.
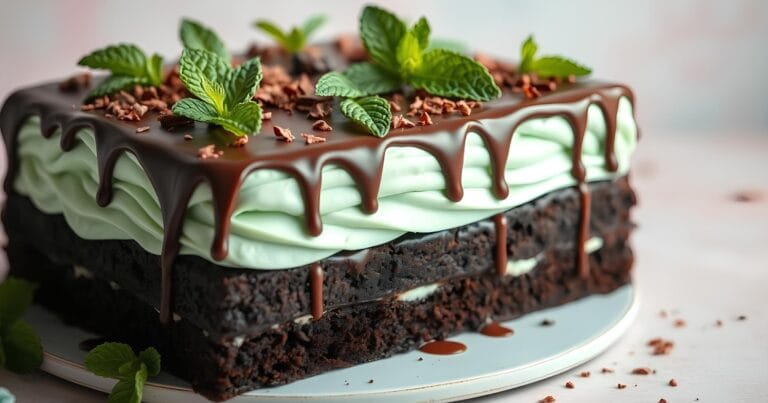
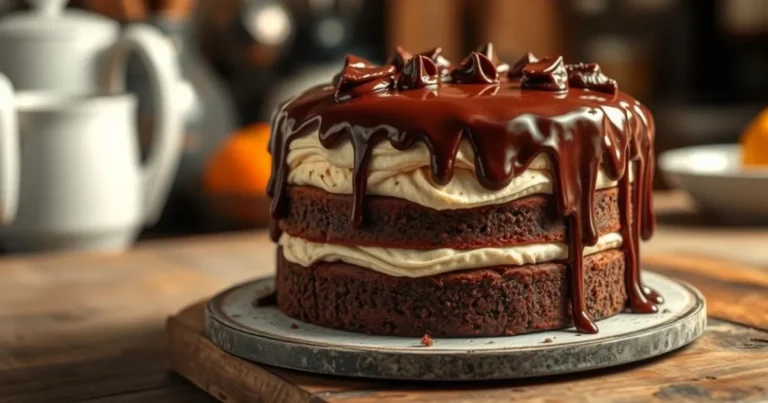
- Swap cream cheese frosting for dark chocolate ganache for a richer dessert 4.
- Incorporate a hint of espresso powder for enhanced chocolate notes 7.
- Use beetroot puree instead of food coloring for a natural red hue and added nutrition.
Conclusion: Time to Bake!
There you have it—the ultimate guide to making Red Velvet Cupcakes as rich and delicious as chocolate cake. Whether you’re celebrating a special occasion or simply craving something sweet, this recipe has got you covered. So roll up your sleeves, gather your ingredients, and get ready to impress everyone who takes a bite. Happy baking!
FAQs: Answers to Your Burning Questions
Q: Are Red Velvet Cupcakes healthier than regular chocolate cake?
A: While both contain sugar and fats, red velvet often uses less cocoa, which means fewer calories from chocolate. However, always check ingredient amounts carefully 8.
Q: Can I freeze the cupcakes?
A: Absolutely! Freeze unfrosted cupcakes for up to three months. Simply thaw and frost when ready.
Q: What’s the secret to keeping cupcakes moist?
A: Using buttermilk and avoiding overbaking are key tricks to maintaining moisture 9.
Q: Do I need to refrigerate frosted cupcakes?
A: Yes, especially if using cream cheese frosting. Bring them back to room temperature before enjoying.
With all this knowledge under your belt, there’s nothing stopping you from becoming a master baker. Now go forth and create your own masterpiece—one Red Velvet Cupcake at a time!